

 F YOU'VE BEEN HOARDING MUSIC FOR YEARS, you know how messy iTunes can get. My external hard drive has over 20,000 tracks—a mix of CDs I ripped and traded with friends ages ago. But only a fraction of those tracks ever made it into iTunes, along with some new ones I bought directly from the iTunes Store. And what a mess it all was! Duplicates, weirdly named songs, low-res album covers, messy (or missing) metadata—opening iTunes felt more like a chore than a joy.
So I decided to do the unthinkable: delete everything in iTunes and start fresh. (Don't worry—my external hard drive stayed untouched.)
Step 1: Delete Everything in iTunes
Yes, I nuked every single track, playlist, and duplicate that had made its way into iTunes. Brutal, but liberating.
Then I selectively reinstalled only the artists and albums I actually missed listening to. Not everything I own—just the stuff that still matters to me. At least for now.
Step 2: Duplicates, Be Gone
With a fresh library, it was finally time to deal with duplicates. Many songs existed in both MP3 and M4A formats. I decided to keep the M4As—better quality, smaller files—and ditch the redundant MP3s. Browsing my library became faster, cleaner, and less confusing.
Step 3: Naming and Genre Overhaul
Next up: metadata. I standardized everything:
- Proper title capitalization (fixing messy prepositions and random capitalization)
- Consistent artist and album names
- Complete, organized genre tags
It was tedious, but now searching or browsing makes sense—no more typo errors, "Track 01" disasters, or mystery albums.
Step 4: Trimming Tracks for Smooth Playback
Once the metadata was cleaned up, I moved on to the little things that make a big difference: start and stop times. iTunes lets you trim tracks to cut long intros, fade-outs, or dead air at the end, and you can enable gapless playback for albums that flow continuously. On the iPhone 17 Pro Max, the crossfade feature gradually fades out the end of one song while fading in the next, so combined with precise trims, transitions feel smooth and seamless. Suddenly, my playlists sounded like a pro mix—no random silence between tracks, just flowing, uninterrupted listening.
Step 5: Album Art That Doesn't Hurt Your Eyes
Scrolling through iTunes used to be visually painful—low-res, blurry (or missing) covers everywhere. I replaced them with high-res versions whenever possible.
For albums with no hi-res art, I got creative and designed a few myself. Now my library looks as good as it sounds. Here are just a few of the enhancements:
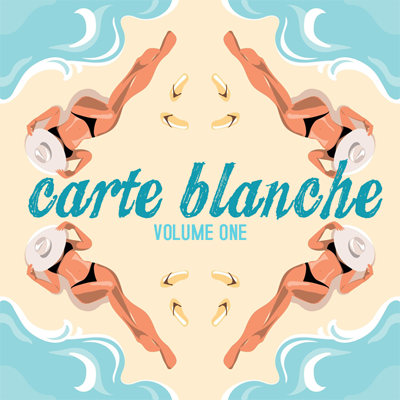
Album art I created from vector graphics, mirror-tiled four ways and superimposed with the matching title.

Album art I created from a Taylor Swift and Shawn Mendes concert snapshot, overlaid with title overlay to replace the original CD cover.
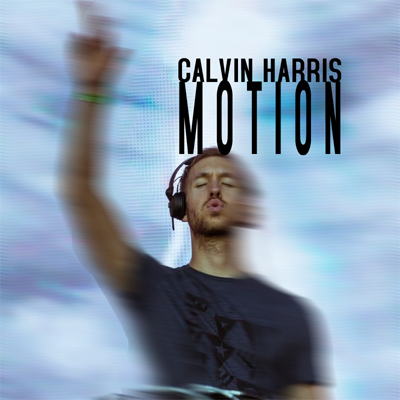
Album art I created from a snapshot of Calvin Harris DJ-ing, enhanced with motion blur effects and title overlay to replace the original CD cover.

Album art I created for my friend Klaas' mixtape back in the early 2000s, using a stylized four-way mirror collage of our old photograph and superimposed with the matching title.
Step 6: The "Wait! Where Did That Go?" Moment
Rebuilding my library meant digging up tracks I'd totally forgotten—and noticing some were just... gone. Like the entire Moon Music album by Coldplay, which vanished after I switched to my iPhone 17 Pro Max. I figured iTunes would still have them locally if I hadn't copied them to my external drive—wrong. (Thankfully, I was eventually able to re-download many of my iTunes Store purchases for free.)
It was frustrating, but it reminded me to focus on the music I can control. My iTunes library is now smaller, curated, and intentional—even if my full external collection is still massive.
Step 7: A Library That Grows With Me
'm far from done, of course—and honestly, I never will be. I add a little every day: rediscovering forgotten tracks, installing new favorites, and fixing metadata or album art along the way.
It's become less about perfection and more about building a library that truly reflects what I enjoy listening to (and looking at) right now. Every time I open iTunes, I stumble on something I didn't expect but end up liking anyway—and that makes the effort feel completely worthwhile.
The Result
Now my iTunes library (so far):
- Is clean, curated, and easy to navigate
- Has no duplicates, with MP3 copies replaced with M4As
- Uses standardized naming and complete genre tags
- Has no typo errors, double spaces, misspellings, incorrect characters
- Features crisp, hi-res album art, including some that I designed myself
- Plays smoothly with no unnecessary gaps between tracks
iTunes may only have a slice of my 20,000+ tracks (depending on my current revamp, that is), but every time I open it—and the Music app on my iPhone along with it—it's pure music delight with a side of album-art eye candy.
Lessons Learned:
- Don't be afraid to start fresh if your library is a mess.
- Only keep what you actually listen to at the moment—the rest just clutters things. You can always re-add later.
- Clean up duplicates and pick the best-quality files.
- Metadata matters. Correct titles, artists, composers and genres save headaches.
- Album art isn't just decoration—it makes your library feel alive.
- Back up your purchases before switching devices—some tracks might disappear unexpectedly.
- Your library is never "finished." Add, tweak, refresh, and grow it over time.
 tarting over in iTunes was a little scary—and, whew, it ended up being a lot of meticulous work—but in the end, it made me fall back in love with my current music collection. Suddenly, listening to music felt smooth, effortless, and just... right again. That feeling, honestly, is completely priceless. (APJ—Last updated 24.Jan.2026)